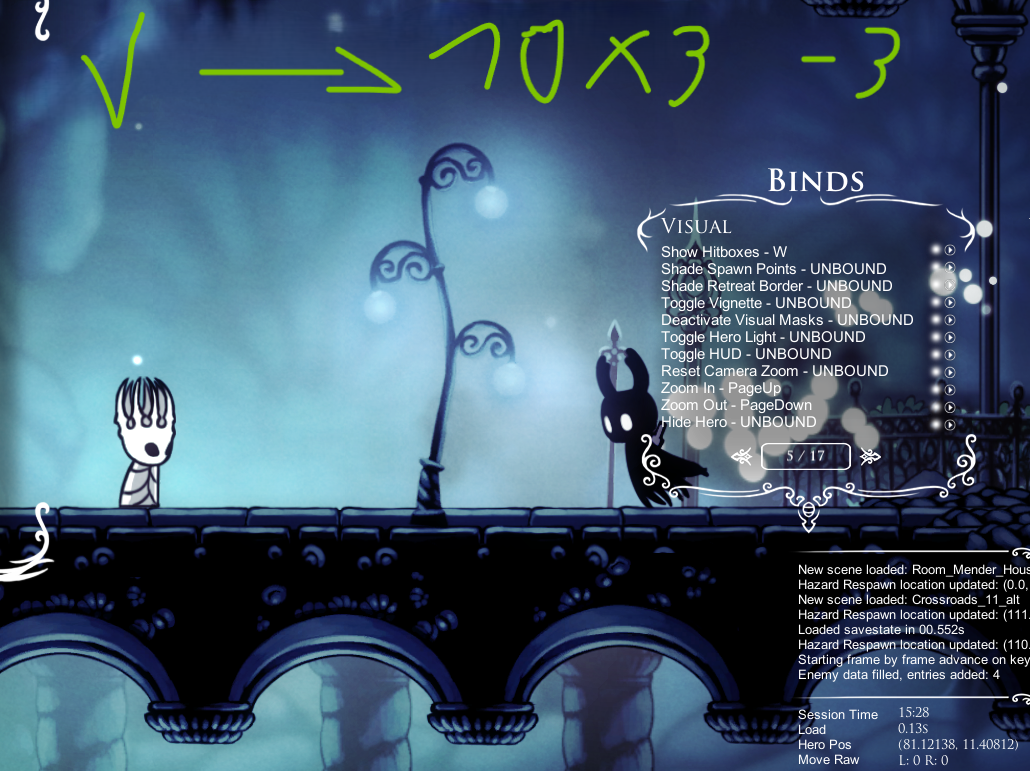
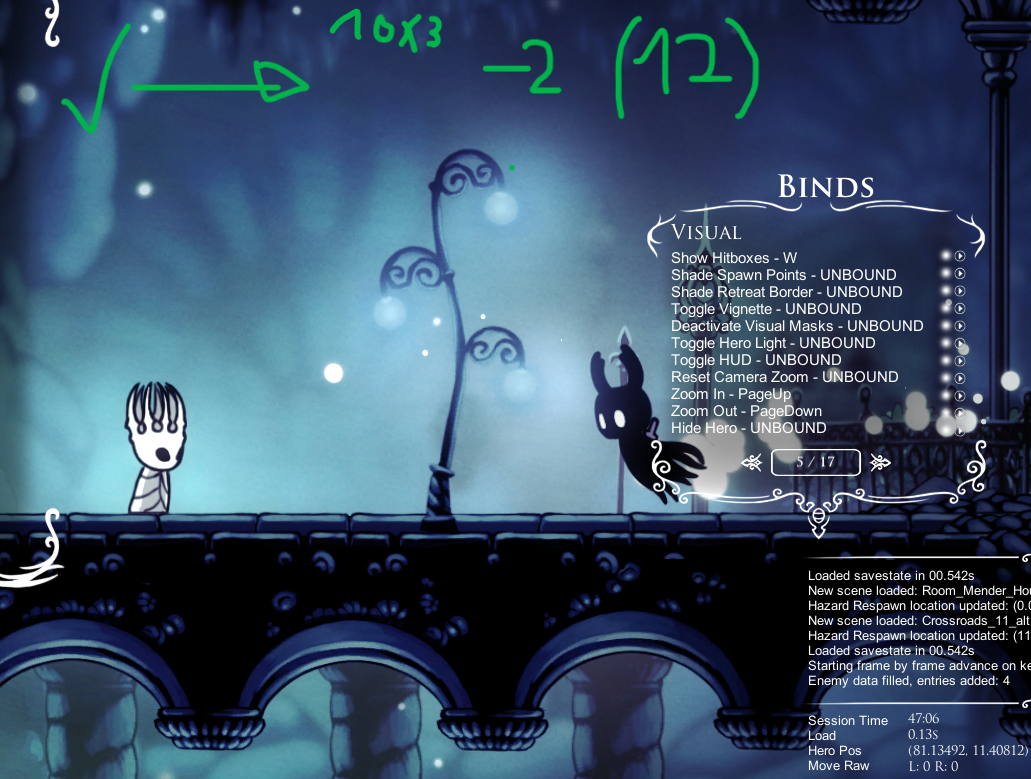
Here's the range of frames in which you can start the wiggle. Assuming left side step starting wiggle and a wiggle duration of 10 frames on all three (turning around at the 11th frame. 299 fps cap).
If you'd like to adjust these frames to middle step wiggle start, take a given shade position and add 5/6 frames to it (most of them you'd have to do yourself tho).
Have in mind too, that the window to hit ibaldur varies greatly depending on the duration of the wiggles afterward. Hope it's useful. (Additional note: Baby pale king has so much aura).
Here are the strats I use for consistent 3 damage tanks in well room. They work for both rngs of the bottom crawlid (but one is faster), and although not as fast as hoping for good gruzzer rng, they are reasonably fast. I have been getting mid to low 45 baldur entries which equates to a mid to high 50 death. I believe it's faster to do 3 damage tanks here than the consistent two in the next room.
Yet another Petra Arena strat zVypurr and I have cooked up. I think this one is quite good.
At its best (first clip), this strat saves 0.7s to the conventional Fury Petra Arena. The double forward slash prevents the problem mentioned in the above post where the first Petra of the pair flies away too early, and jumping back up immediately for the second Petra in the pair means you no longer have to wait for late attacks.
At its worst, you'll need to react to an early attack from the second Petra (second clip), which breaks even or loses up to 0.3s an optimal normal strat depending on when exactly it attacks. To do this, listen for the Petra to start its attack. If it does this too early for you to be able to kill it before it attacks (which you'll be able to gauge with some practice), dash immediately to the gate and do the normal kill.
You can lose a little less (0.1-0.2ish) on some early attacks with a higher dash (third clip), but this runs the risk of forcing the Petra too high to reach (fourth clip), so I would recommend defaulting to going down to the gate.
If you have Dashmaster, activate the left collapsible platform after the first Petra kill as shown to avoid the first Petra of the pair getting caught on it. If you don't have Dashmaster, you'll have to skip this since the platform won't come back up in time for faster Petra spawns.
For the double slash on the first Petra of the pair, jump and slash at roughly the same time to lead the nail hitbox into the Petra on the way up. This is faster, but also safer since it pushes the Petra away sooner.
Alternate strat for the pair in Petra Arena (first clip). Prevents the situation where the first Petra in the pair flies too far to hit with the normal rotation (second clip) and forces the second petra to attack sooner, which lowers the chances of/possibly prevents a late attack that you have to wait for to not get hit by (third clip).
This is really tough to time because of all the possible patterns, but from video comparison it looks like this loses about 0.3s when both are done optimally. Anecdotally though it's much harder to greed the normal strat than this one, so I suspect on average this strat would go even with less chances to fail.
Alternative to Nebula's setup that uses buffered inputs for the timing/positioning. Some notes:
This loses at most 0.1s to a fully greeded version of this, but realistically will go even with other run setups like the visual cue Nebula posted
The dash after the drop before the upslashes needs to be neutral to lure the spore a bit to the right to avoid running into it after the mushroom pogo
For the mushroom pogo, I hold right out of the dash into the wall and start holding left at the same time as the pogo. Switching to holding left too late can cause you to run into the spore
The timing here works out so that hitting the spore as soon as you're low enough to fit under the ledge greeds the spore height well
I tend to go neutral after the explosion to make sure the pogo reaches
Optimal strats for getting well rock while taking 3 damage to setup for the baldur death.
If the husk is on the left, you want to damage boost to the right and then damage tank again right after your second up-slash on the rock. From there, if the crawlid is moving to the right, you can do a large pre-hop and damage boost to the left (note you'll have to jump further left if you lost time earlier in the room). If the crawlid is on the left, however, you'll have to go neutral and pogo the statue after damage boosting, as demonstrated in the second video. For the left husk rng in particular there can be a lot of variance in how far left it is due to random walking, but you should still always try to go for these rotations as even with terrible rng and an awkward backup you can still make the crawlid cycles.
If the husk is on the right, you want to hit both the husk and the rock with side-slash into two up-slashes, damage tanking right after the first up-slash. From there, if the crawlid is on the left you just want to damage tank backwards on the tiktik as soon as possible which will then set you up to a final damage tank on the tiktik. If the crawlid is moving to the right, you can damage tank on the crawlid a little sooner and save a small amount of time, but remember the tiktik has to be far left enough when you damage tank so keep the cycle lock in mind.
With this and the previous strats post in mind, well rock for ibaldur categories loses about 2.4 seconds on average for around 20 geo - getting it with dash and/or claw is slower than getting it on the way to the baldur death.
A consistent way to take 2 damage in the room before dying to the baldur, which is relevant for all categories that do ibaldur and skip well rock.
This loses 0.9 to the fastest possible 2 damage tanks that requires specific gruzzer rng, but otherwise saves a lot of time as you'll always enter the transition with 1 health.
If the crawlid is on the right (or if you can damage boost using a gruzzer), you can do a full hop from the center of the platform which breaks even with the inventory but is trivial to greed. On LP it is recommended to minihop if you damage boost on the left side of the platform.





 4
 2